.png?height=120&name=wildcloud%20by%20WPCS%20logos%20(1).png)
Versions contain all code are available your tenants. Developing, upgrading and migrations, it all starts with creating a version.
Versions can be assumed as milestones in your application's journey, representing distinct phases in the evolution of your application, such as v1.0 and v1.2. This allows you to continue working on your application without risking errors in live sites.
To begin with the application development, an initial Version 'v1.0' is created. Further, when you want to change or upgrade the WordPress version or PHP version, you can create a new version.
In this documentation, we will explore steps to create a version.
Let’s get started🚀
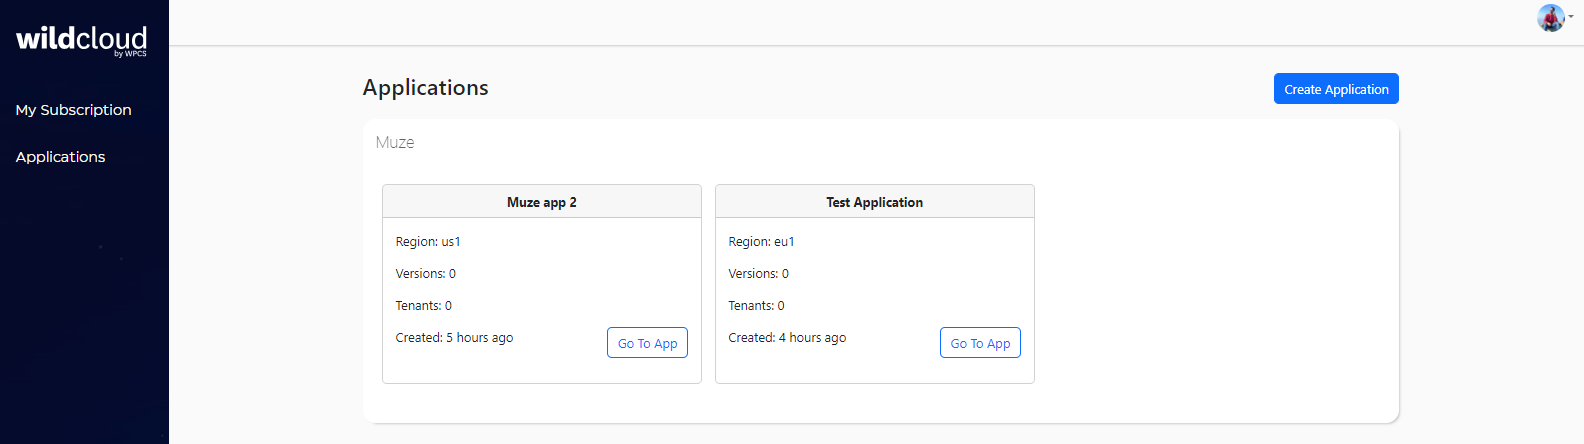
Step 1: Log in to your wildcloud account and you will be navigated to the Applications page by default.
Step 2: Click on Go To App for the app you want to create a new version.
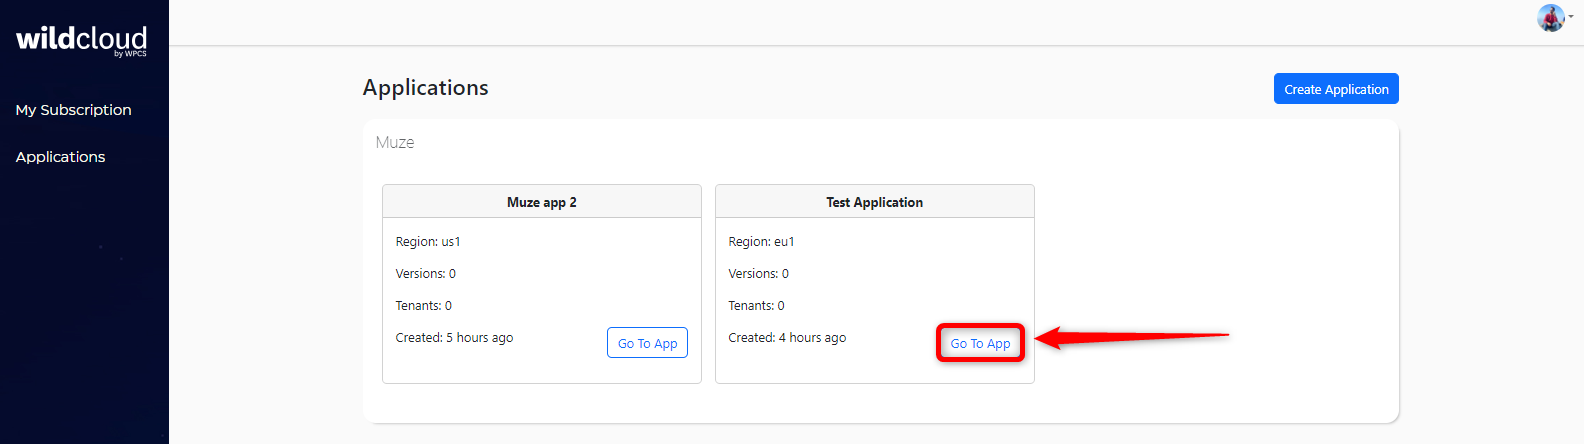
Note: You can also click on the application name as it will navigate you to the same window.
Step 3: Click on the Actions “caret down icon” and select the Create version option to create a new version of the desired application.
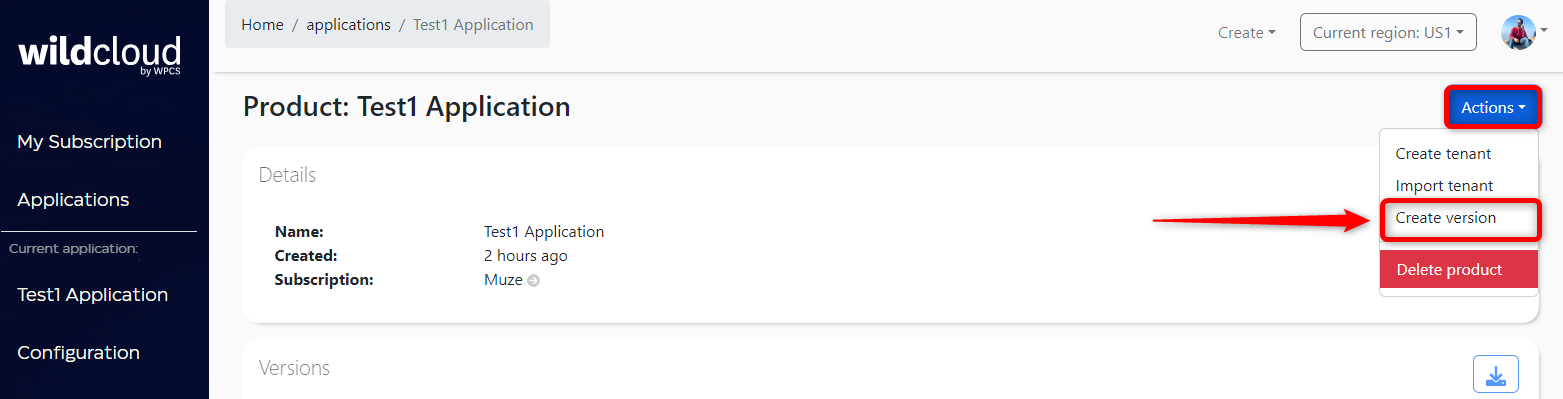
This will navigate you to the “Create new version” page to select the WordPress version and PHP version.
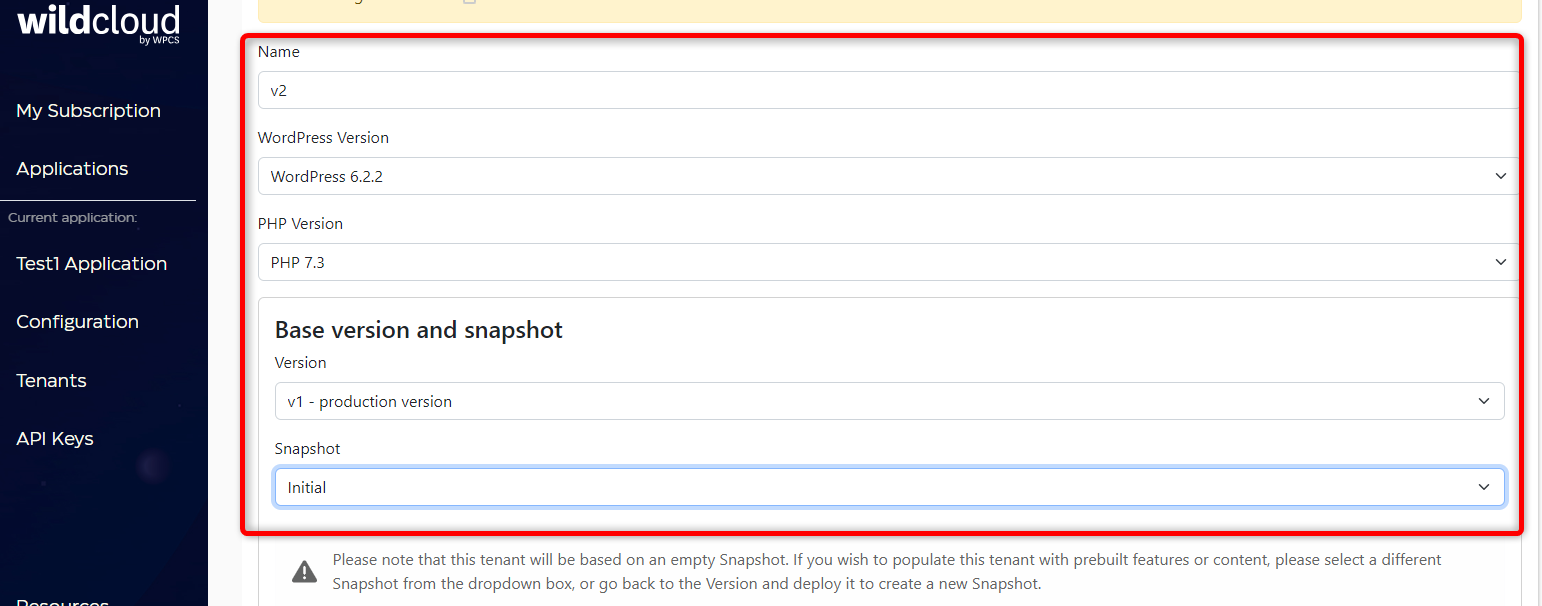
Step 4: Enter the information in the requested fields.
|
Fields |
Description |
|
Name |
Enter the name for the new version of the app |
|
WordPress version |
Select the WordPress version from the dropdown menu |
|
PHP version |
Select the PHP version from the dropdown menu |
|
Base version |
Select the base version from the dropdown menu |
|
Snapshot |
Select the snapshot for the new version. |
Step 5: Click on the Submit button to create a new version of the desired application.
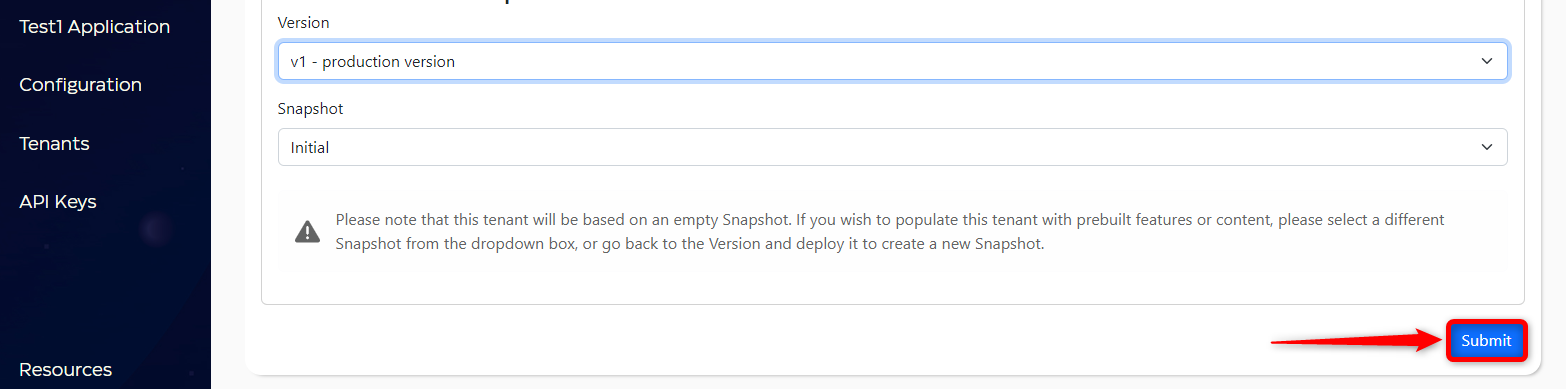
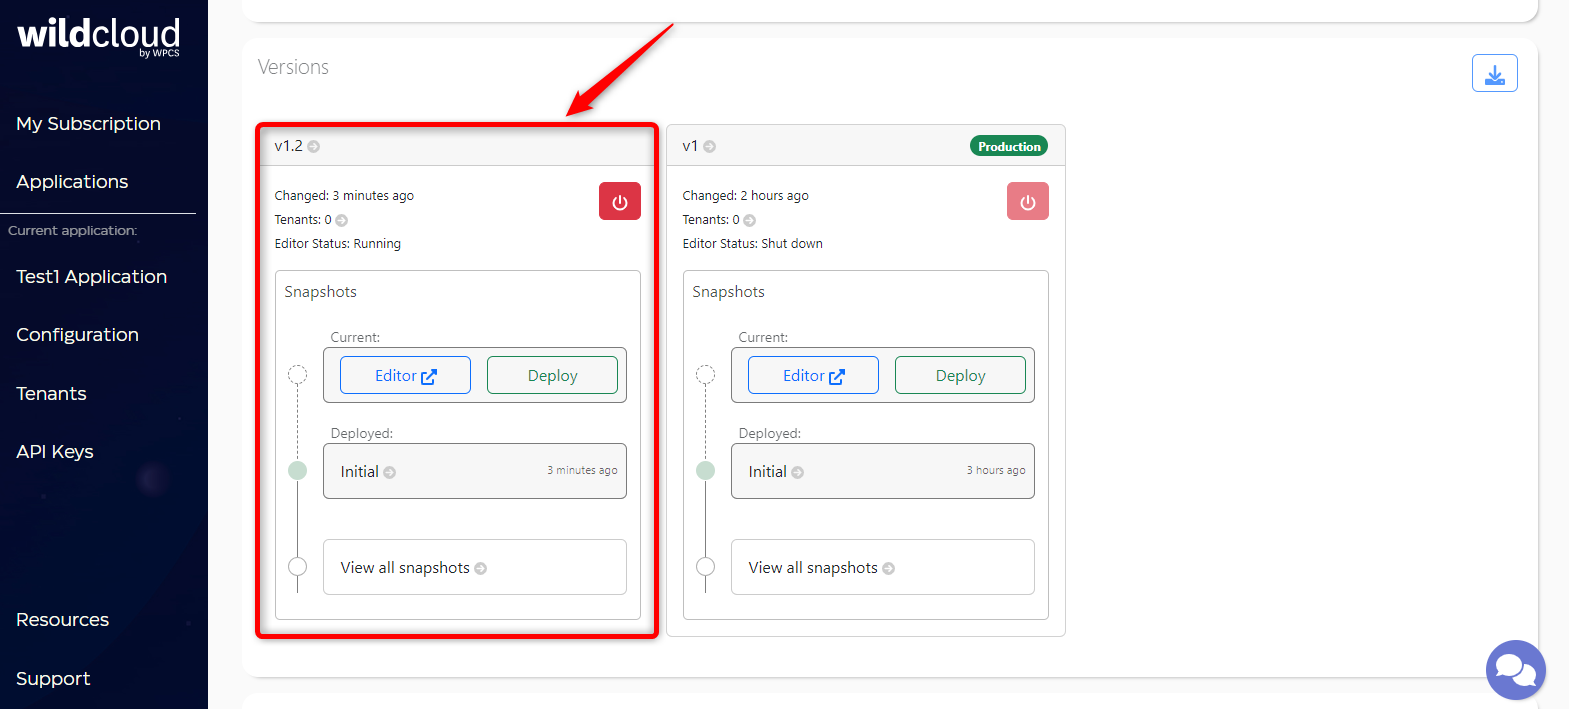
This will navigate you to the respective product page with a newly created version.
Note: It may take a few minutes to create a version.